
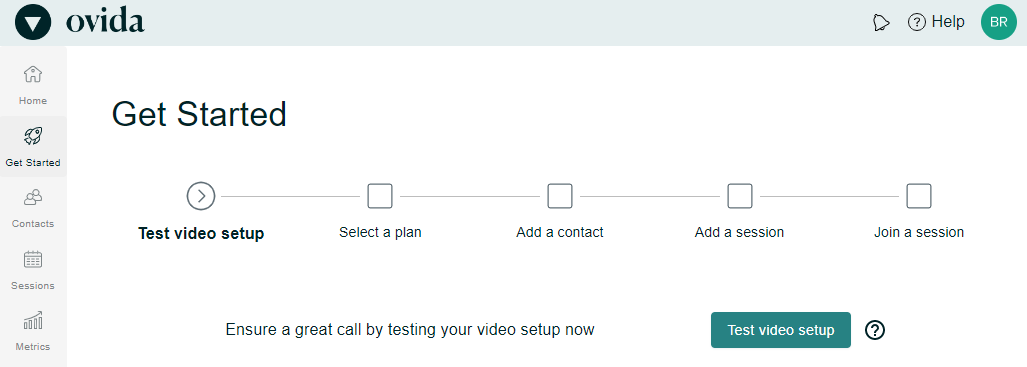
The Ovida pre-call setup wizard
The easiest way to trouble shoot camera and video issues is by using our pre-call video test app. You access it via the Getting Started page. The app tests your device's setup, and walks you through the process of accessing your camera and microphone.
Ovida needs access to you camera and microphone
Ovida uses the same technology that drives Google Meet uses to allow you to join a video call from your web browser. This means that you do not need to download complicated software to your device to join an Ovida call. Depending on your existing privacy settings, you may need to actively grant Ovida access to your camera and microphone. This article will step you through that process.
What you should see when joining a meeting
If Ovida can access your camera and microphone, you will see them listed in the dropdown here.
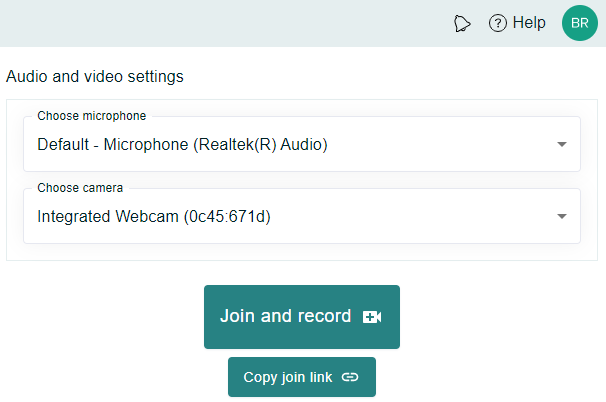
If you don't see this, you may need to follow the steps below.
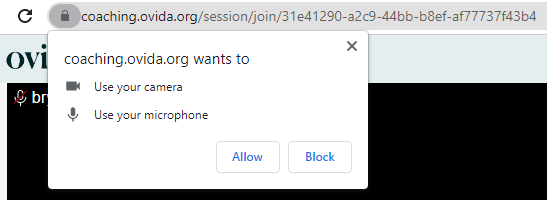
Ovida will try to ask for permission to access your camera and microphone
If you have not already granted permission for Ovida to access your camera your microphone, your browser may (depending on your settings) show you our request. You should click "allow".
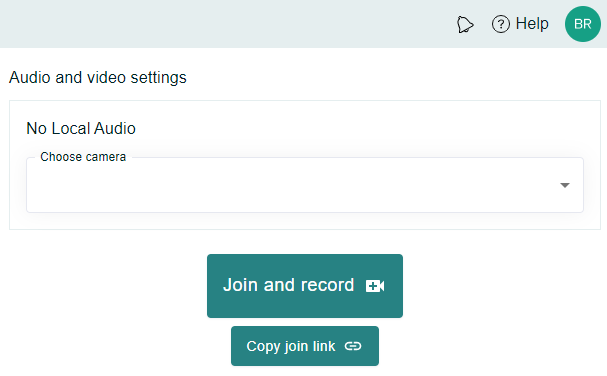
Your browser settings may be blocking us from asking for permission
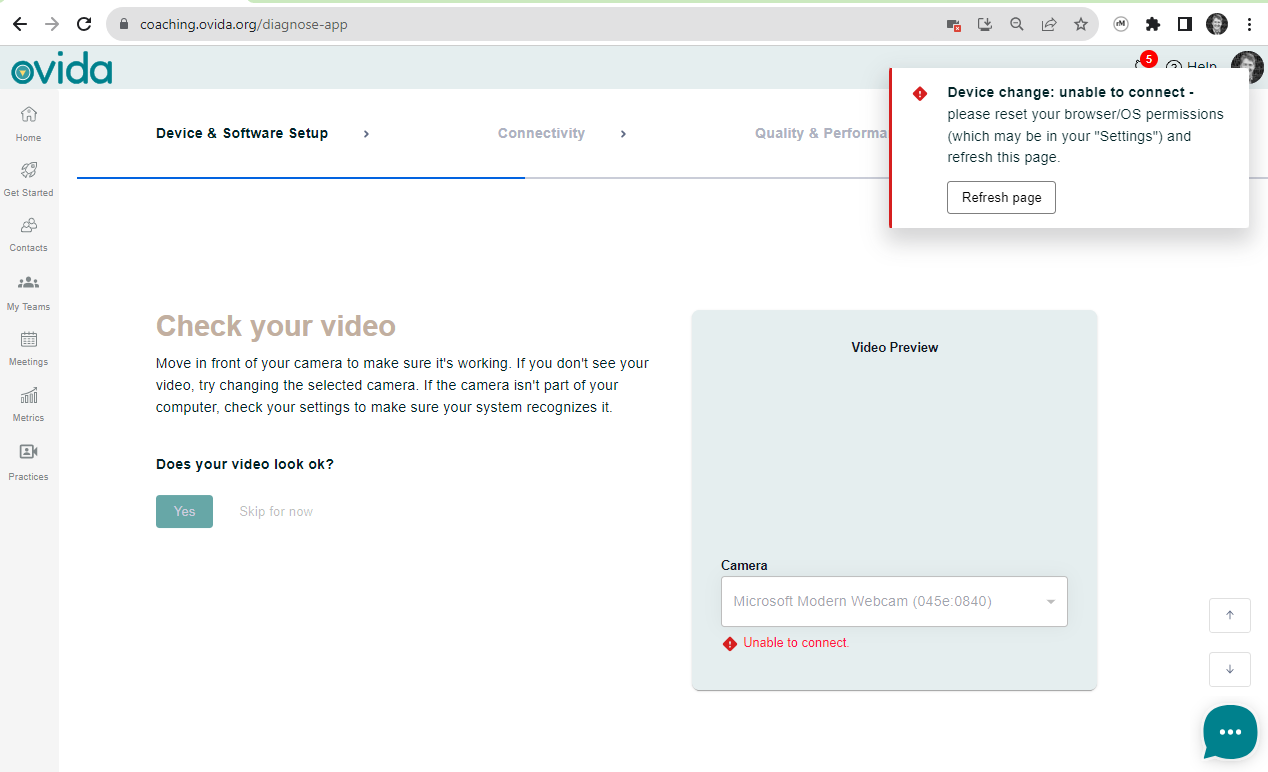
In some cases, you may not receive this notification, and will not be able to select a camera and microphone when you try to join a meeting. You may see blank fields when trying to join a meeting
Or you may get this warning when running the pre-call diagnostic app.
In this case, you need to change a setting on your browser - to allow websites like Ovida to ask for permission to access you camera or microphone. Note that you still retain control - you get to decide which requests to accept. You can also switch this back as soon as you have enabled Ovida. The steps to do this in Chrome are:
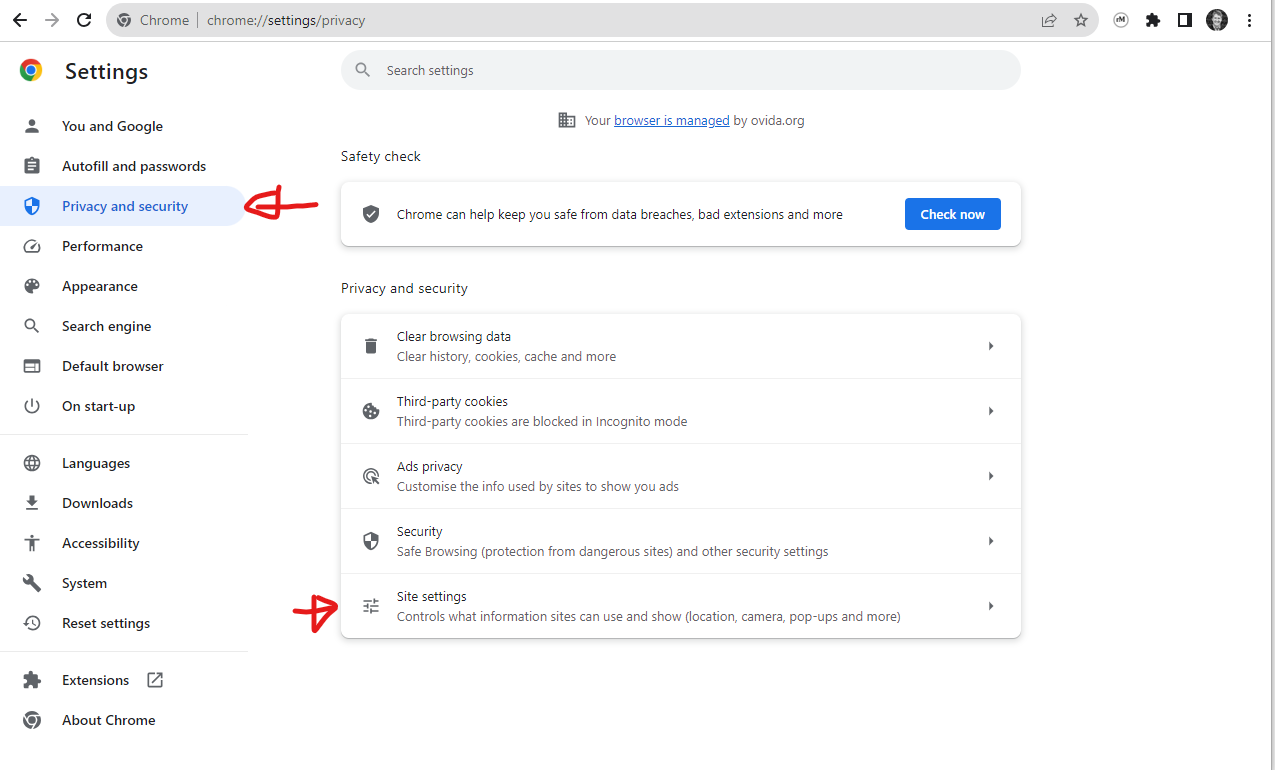
Step 1: click the menu button (3 dots, top right) on your browser, then select "settings"

Step 2: On the "Privacy and security" tab, select "Site settings"
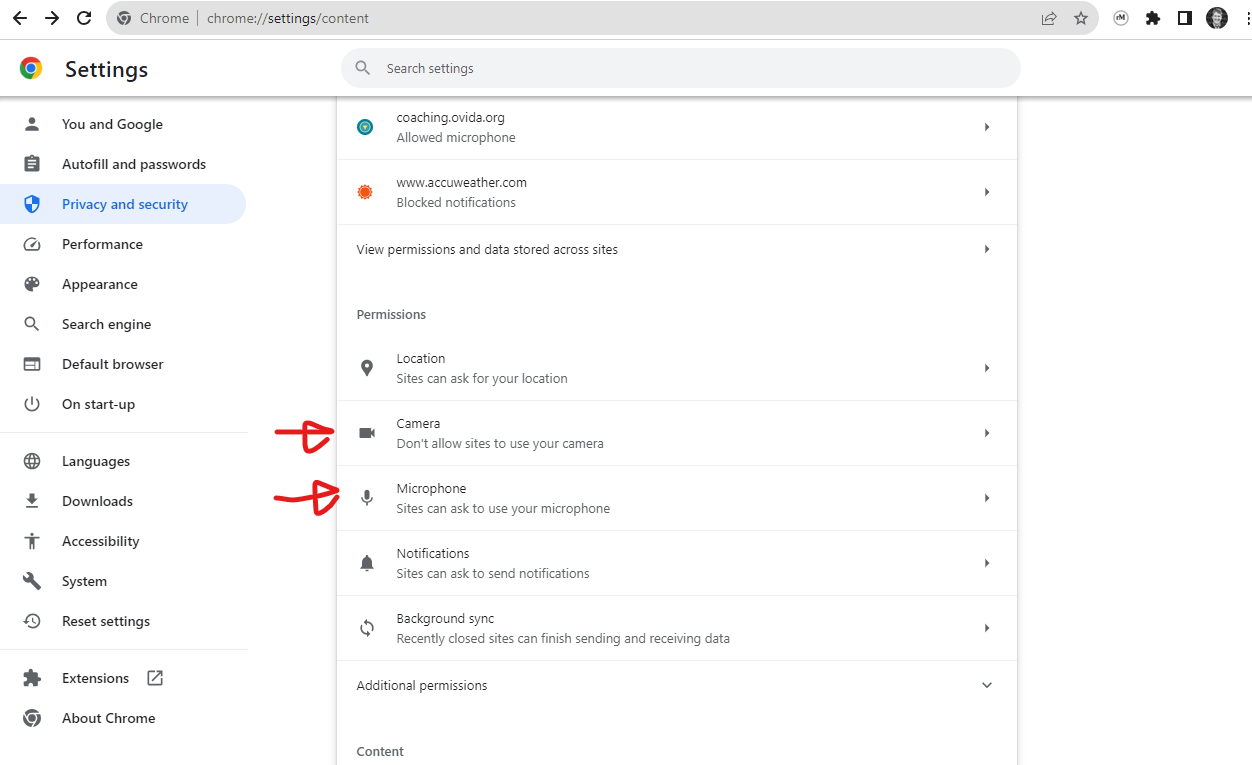
Step 3: Select camera (or microphone - which ever you need to resolve)
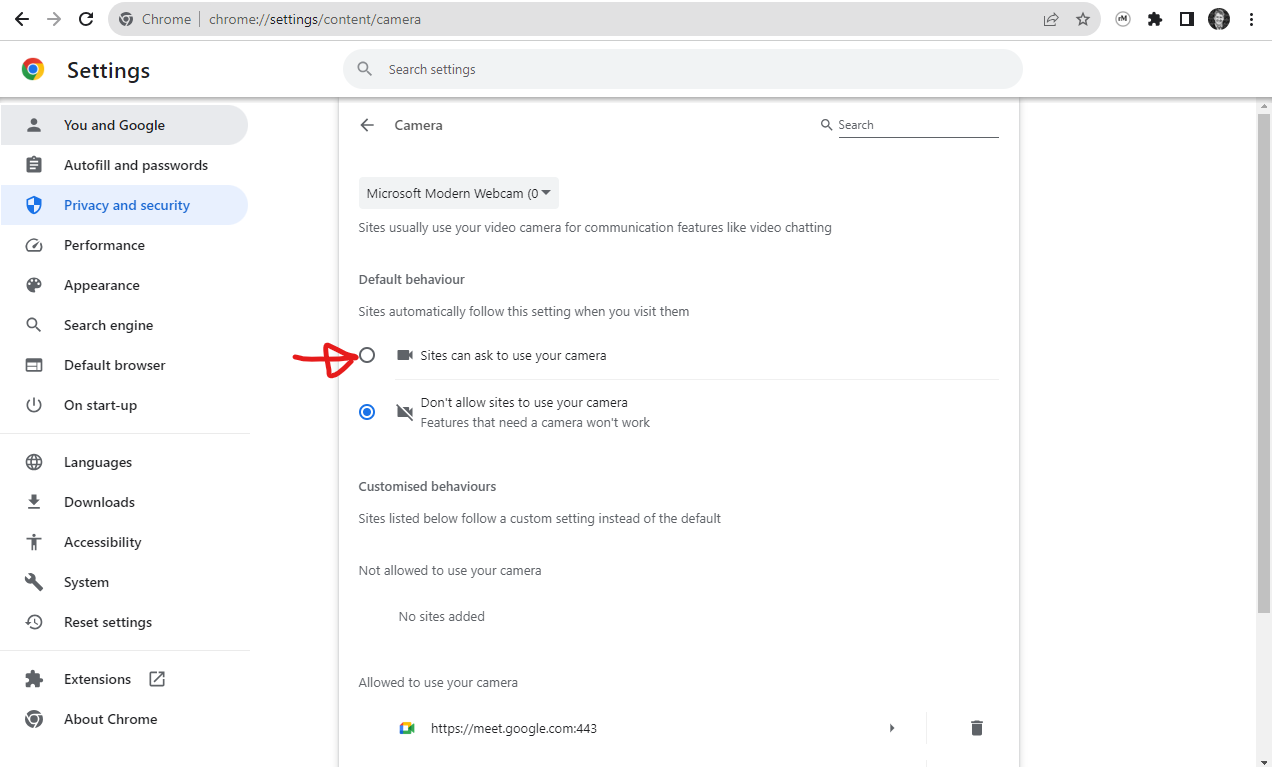
Step 4: select "Sites can ask to use your camera"
Step 5: Go back to Ovida, and refresh the "join meeting" page or re-run the diagnostic app, and you should now be asked for permission to access the camera / microphone.
Note - The process to grant access varies by web browser (Google Chrome, Microsoft Edge, Mozilla Firefox etc). To get up-to-date step-by-step instructions, google "grant a website access to my camera and microphone in [Chrome / Safari / Firefox]" .